Remote (CDE) environment mirrors the AI agent layout — app and API each get a dev + stage pair (appdev/appstage, apidev/apistage), plus PostgreSQL — for developers working over SSH or a mounted remote filesystem.
Taking ownership of the Remote CDE environment
Clone the template repositories
Fork or clone the following to your local machine or GitHub account:
Prerequisite: check authorization
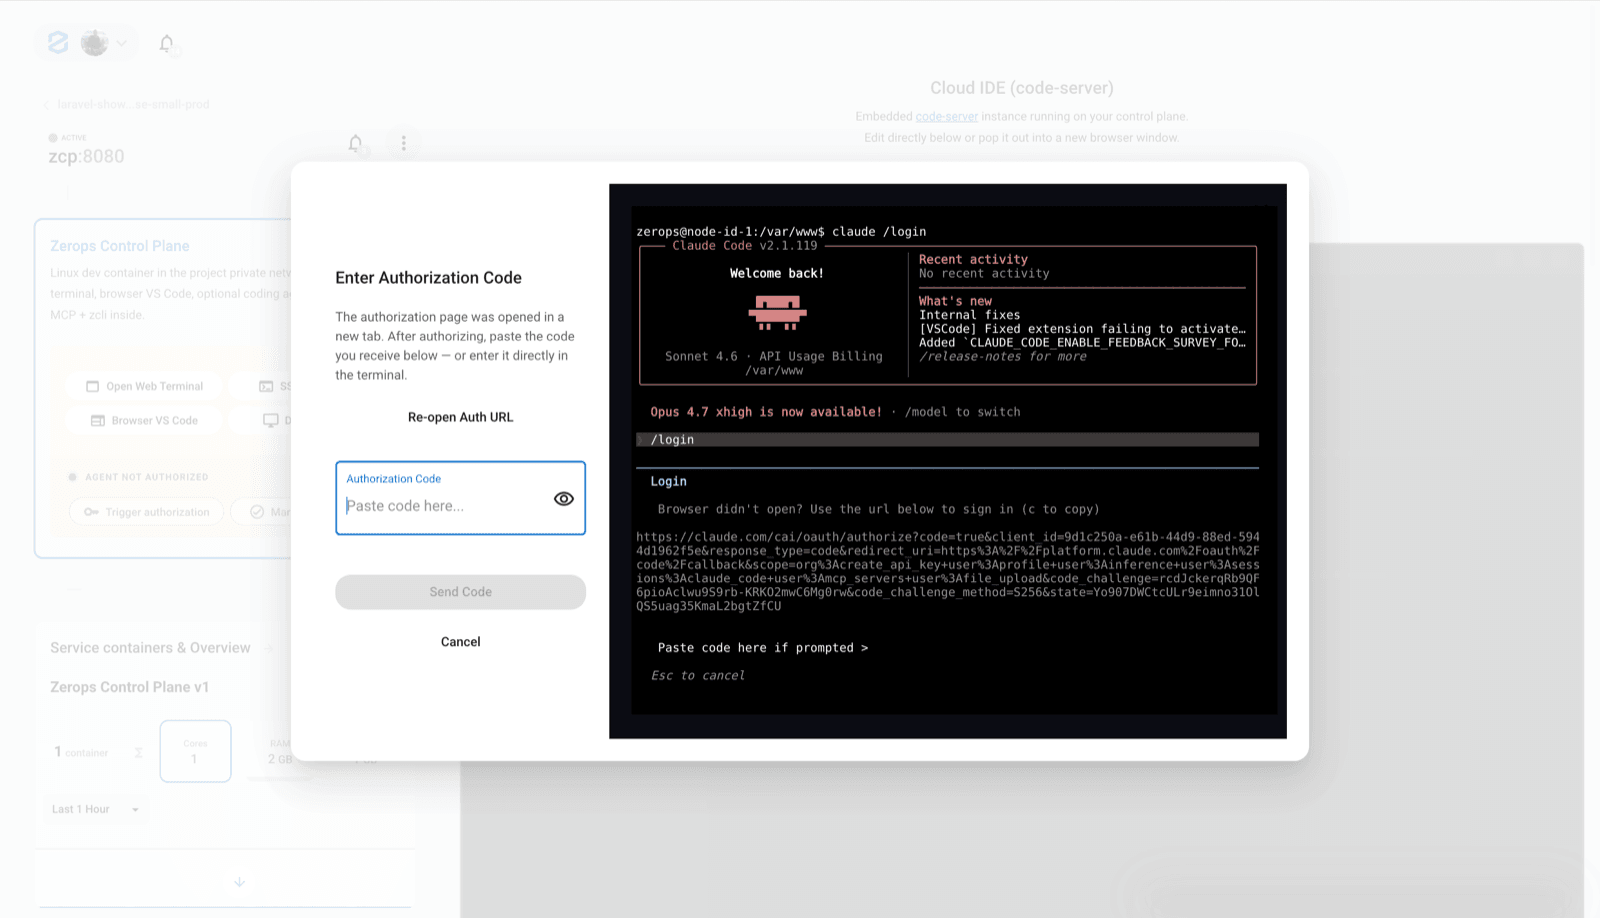
After you deploy the remote development environment, an authorization dialog should appear.
Complete the authorization before continuing. If the dialog did not appear, open the environment guide again from the recipe detail, or use the IDE authorization flow when prompted.
1. Open your remote development environment
Your remote development environment is ready. It runs as a persistent Zerops service inside your project, close to your managed services and internal network.
Open the service in the Zerops Dashboard and check that it is running.
2. Choose how to connect
You can work with the remote environment from the browser or from your local tools.
Option 1: start in the cloud IDE
The fastest way to start coding is to open the cloud IDE from the service dashboard.
- No local setup is required.
- The workspace is already connected to your Zerops project.
- You can access internal services through Zerops networking.
- You do not need a local
.envfile in the remote workspace. Manage secrets and configuration through Zerops environment variables.
Option 2: connect from your local IDE or terminal
If you prefer local tooling, connect to the remote environment over SSH.
Install zCLI and log in:
npm i -g @zerops/zcli
zcli login <personal-access-token>
Start the VPN:
zcli vpn upConnect to the remote environment:
ssh -A <service-name>.zeropsUse this SSH connection from compatible local tools and IDEs.
3. Understand local vs remote development
Use the remote development environment when you want your workspace to run inside Zerops, close to your services and project network.
Use local development when you want to run the application on your own machine while connecting to Zerops services through VPN.
For local development, you can export environment variables with zCLI:
zcli project env --service <service-name> --user-only > .envFor remote development, you usually do not need a local .env file. Manage configuration through Zerops environment variables instead.
4. Work with the dev/stage flow
Most setups use a development environment for active work and a staging environment for verification.
A typical flow is:
- Make changes in the remote development environment.
- Test the app against internal services.
- Push the changes to your repository or deploy with
zcli push. - Verify the result in staging.
- Move toward production when the staging version is ready.
5. Move toward production
When the application is ready, finish the production setup.
The usual production checklist is:
- configure the deployment pipeline
- set up your domain
- verify logs and runtime behavior
- configure backups if the recipe includes a database
- review scaling settings before real traffic arrives
Follow the production guide for your selected recipe/environment when you are ready to release.
6. Optional: inspect logs and services
Use the Zerops Dashboard to check runtime logs, service status, and deployment details.
If you need terminal access for diagnostics, use zCLI and SSH:
zcli vpn up
ssh <service-name>.zerops
Use this for inspection and maintenance, not as the main way to change production services.
Deploy more environments
Related platform & services docs
Related Recipes
More recipes with similar technologies and categories.

TanStack Start Hello World
A server-rendered TanStack Start application with Nitro Node output, deployed on Zerops. Includes ready-made environment configurations for the full development lifecycle.

React (Vite) Static Hello World
A complete React + Vite hello world recipe for Zerops, demonstrating static site deployment with build-time environment variable injection — compiled by Node.js, served by Nginx, ready-made for every stage of the development lifecycle.

React Router Static Hello World
A complete React Router v7 hello world recipe for Zerops — deploying a React Router v7 SPA (static mode, no SSR) as a static site built by Node.js and served by Nginx, with ready-made environment configurations demonstrating build-time environment variable injection via Vite.
React Router SSR Hello World
A minimal server-side rendered application built with React Router v7 on Zerops, connecting to a PostgreSQL database. Includes ready-made environment configurations for every stage of the development lifecycle - from AI agent workspaces through local development to highly-available production.