
WordPress runs the open web, but the default "unzip it on a box" setup fights every cloud-native practice: core and plugins live in the document root, uploads pin you to one disk, and configuration hides in a file full of secrets. This recipe reshapes it into a 12-factor app. WordPress core, plugins and themes are Composer dependencies; only a public/ directory is web-served (config, vendor/ and tooling sit above it, unreachable over HTTP); every setting is read from the environment. Media is offloaded to S3 object storage and a persistent object cache lives on Valkey, so nothing durable touches the container disk and the app scales horizontally without going stale.
Six environments cover the whole lifecycle: an AI Agent dev + stage pair for agent-driven development, a single Remote (CDE) cloud workstation, a stores-only Local setup for developing over the VPN, a single-node Stage, and production on shared (Small) or dedicated, highly-available (HA) hardware behind zero-downtime rolling deploys.
Features
- Composer-managed WordPress — core, plugins and themes are dependencies; no in-dashboard file writes (
DISALLOW_FILE_MODS), so deploys stay reproducible. - Isolated web root — only
public/is served;wp-config.phpandvendor/live one level up, physically unreachable, not just "denied". - Redis object cache — persistent cache on Valkey (phpredis); the
object-cache.phpdrop-in is baked into the build artifact, so every container ships with it and just connects to the managed Valkey — graceful if it's momentarily unreachable. - S3 media — uploads go straight to object storage via
humanmade/s3-uploads, path-style for MinIO; the container filesystem stays disposable. - Zero-downtime deploys — a readiness check gates traffic on a static core asset; a health check restarts unhealthy containers.
- Real cron — WordPress pseudo-cron is disabled; a platform cron runs
wp cron event runevery 5 minutes on one container. - Hardened & tuned — security headers,
xmlrpc.phpblocked, no PHP execution under uploads, production OPcache, WP-CLI pinned by checksum. - SMTP-ready email — point
WORDPRESS_SMTP_HOSTat your relay to route mail through it; left unset, WordPress uses PHP's defaultmail()transport.
A production-ready stack sized for moderate traffic: single-node MariaDB, Valkey and a 10 GB media bucket, with the app on shared CPU scaling 1 → 2 containers behind readiness-gated rolling deploys. OPcache is timestamp-frozen and WP_DEBUG is off. The cheapest way to run a real, public WordPress site; not redundant.
Taking ownership of the Small Production environment
Recipe-specific setup
First-run setup
- Open the site — the
appservice's subdomain is the public URL. WordPress installs itself on first boot; there is nowp-admin/install.phpstep to click through. - Log in — go to
/wp/wp-admin. The admin username defaults tozadminand the password is the generatedWORDPRESS_ADMIN_PASSWORD— read it from theappservice's env vars in the Zerops GUI, then change it. - Set the admin email —
WORDPRESS_ADMIN_EMAILships as a placeholder; update it in Settings → General so password resets and notifications reach you.
Configure
- Add plugins/themes via Composer, not the dashboard — the file editor and installer are disabled because the filesystem is rebuilt on every deploy.
composer require wpackagist-plugin/<slug>, commit, push. - Email — set
SMTP_HOST_OVERRIDE/SMTP_PORT_OVERRIDE(andWORDPRESS_SMTP_AUTH/WORDPRESS_SMTP_USER/WORDPRESS_SMTP_PASSWORD) on theappservice to route mail through your SMTP relay; left unset, WordPress uses PHP's defaultmail(). - Custom domain — add it in Zerops, then set
WORDPRESS_URLto it (it defaults to the Zerops subdomain); WordPress uses it for every absolute URL.
Upgrade
Bump johnpbloch/wordpress (and plugins) in composer.json, run composer update, commit and push. The deploy's upgrade.sh runs wp core update-db, so schema migrations apply automatically before traffic resumes — do NOT update core from the dashboard (it's disabled, and any write would be lost on the next deploy).
Clone the template repositories
Fork or clone the following to your local machine or GitHub account:
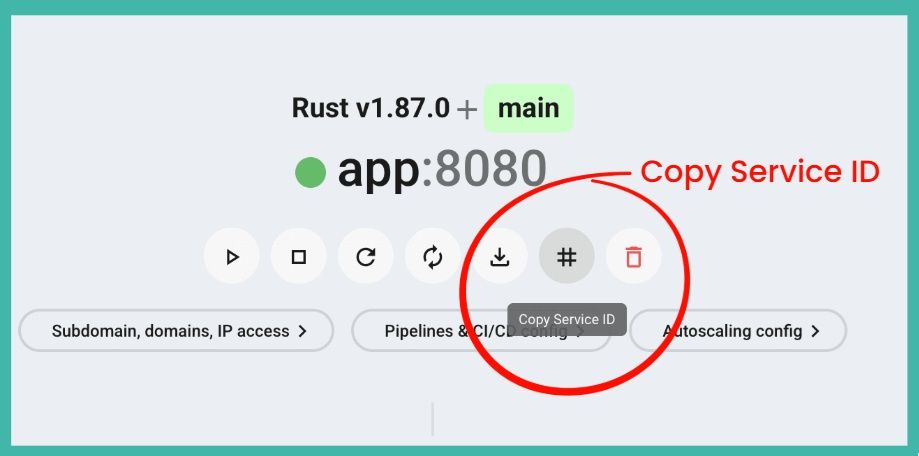
1. Find your service name
Many commands and configurations need the exact name of your service. You can find it in the Zerops Dashboard.
- Open your project in the Zerops Dashboard.
- In the project overview, find the service you want to manage.
- Use this exact name whenever a command or pipeline configuration asks for
<service-name>.
2. Configure deployment pipeline
Go to Service Settings > Pipelines & CI/CD Settings in the Zerops Dashboard and connect your repository.
For production, use a trigger on new tags. This keeps deployments intentional and tied to a specific version. You can also add a regex filter, such as ^v[0-9]+\.[0-9]+\.[0-9]+$, if you want to allow only semantic version tags.
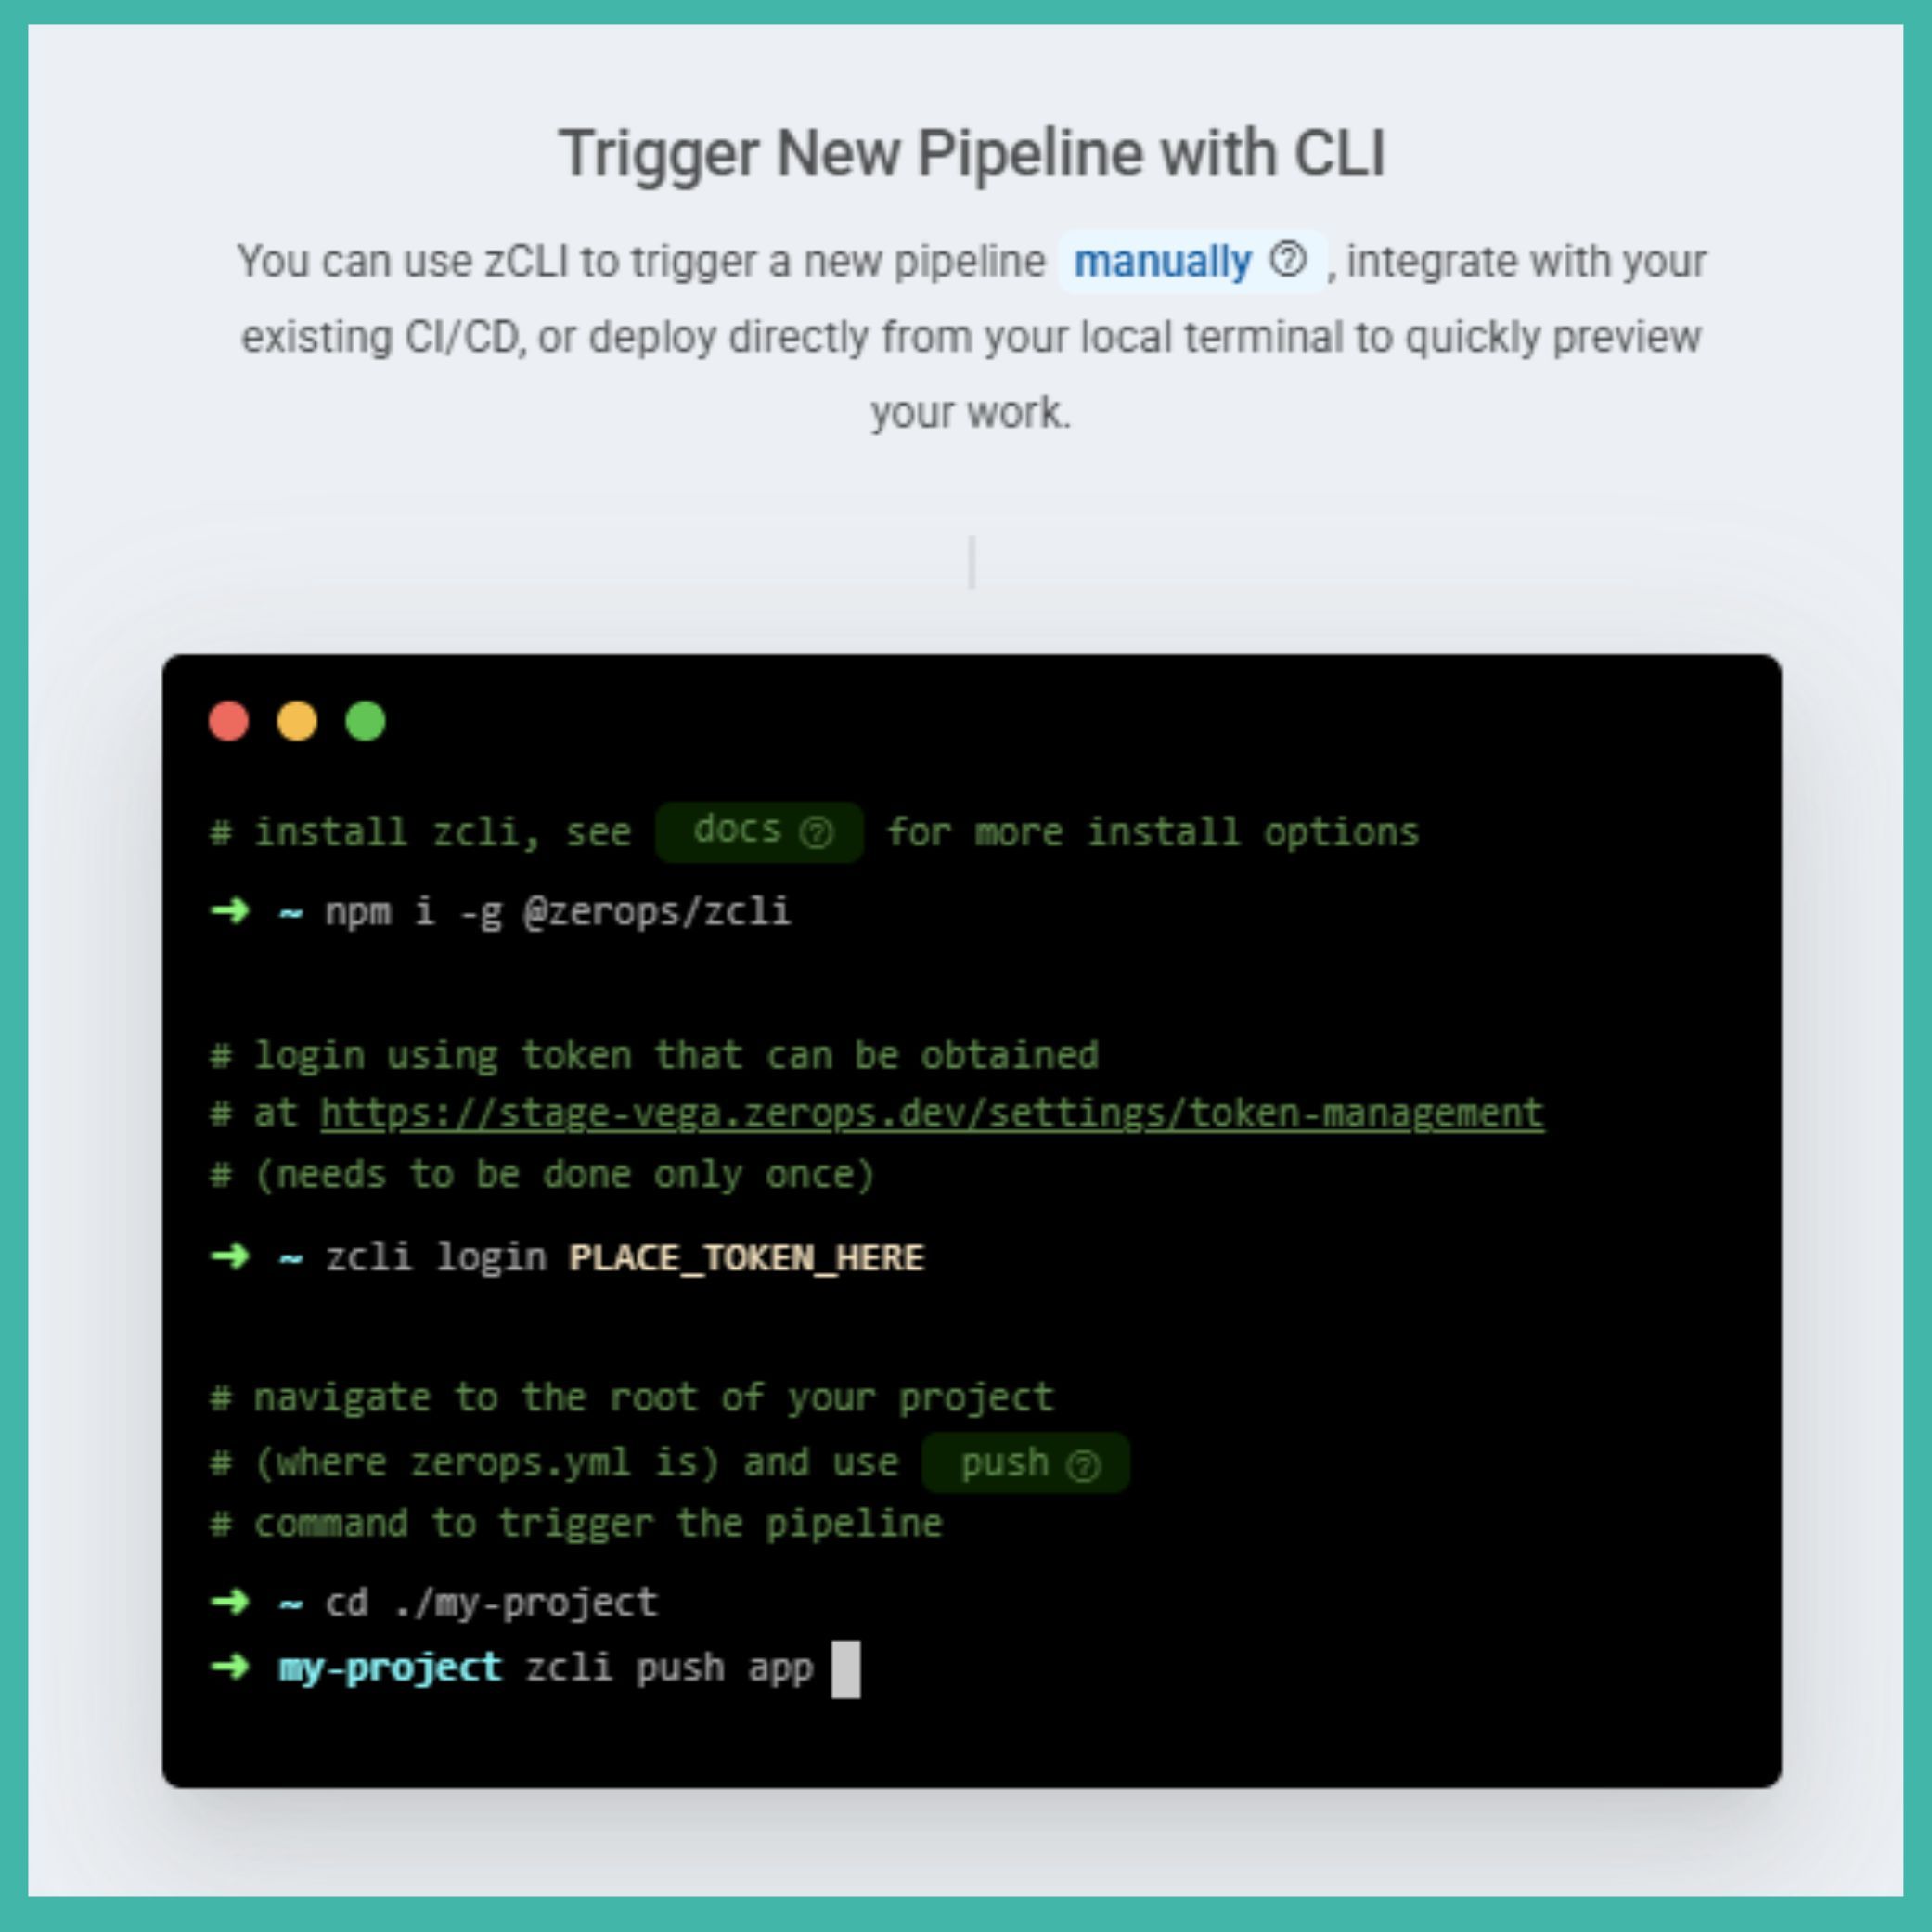
Alternatively, add zcli push to your existing CI/CD pipeline if you want full control over when deployments happen.
Learn more about pipeline triggers: https://docs.zerops.io/features/pipeline
3. Deploy to production
Create and push a new Git tag to deploy a specific version of your app:
git tag -a v1.0.0 -m "Release version 1.0.0"
git push origin v1.0.0Tip
Open the pipeline detail in the Zerops Dashboard to check the build progress and verify that all steps finish successfully.
4. Configure autoscaling
Review the autoscaling settings for your runtime services and databases in Service Settings > Automatic Scaling Configuration in the Zerops Dashboard.
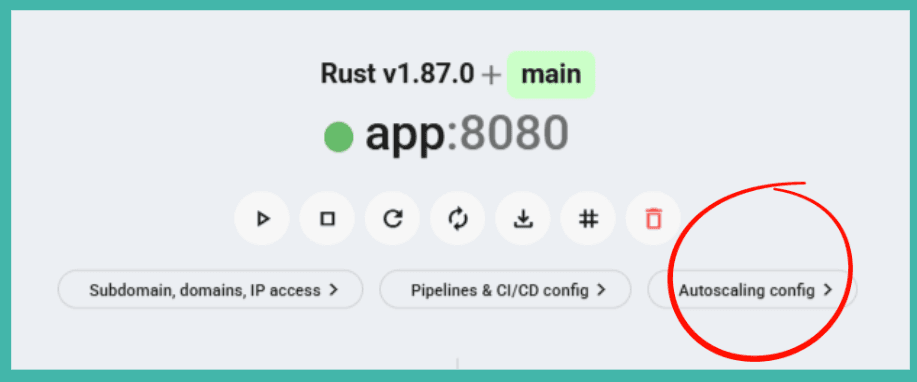
The most important settings are:
verticalAutoscaling:
  minRam: 1
  minFreeRamGB: 0.5
minFreeRamPercent: 20Caution
Pay attention to minFreeRamGB. This value tells Zerops when to scale RAM vertically. Adjust it based on your app’s real memory needs. RAM scales up immediately, while CPU scales after two consecutive measurements below the threshold.
Tip
Run a quick stress test with a tool like hey before real users arrive. This helps you see how your app behaves under load and tune the autoscaling settings.
5. Set up your domain
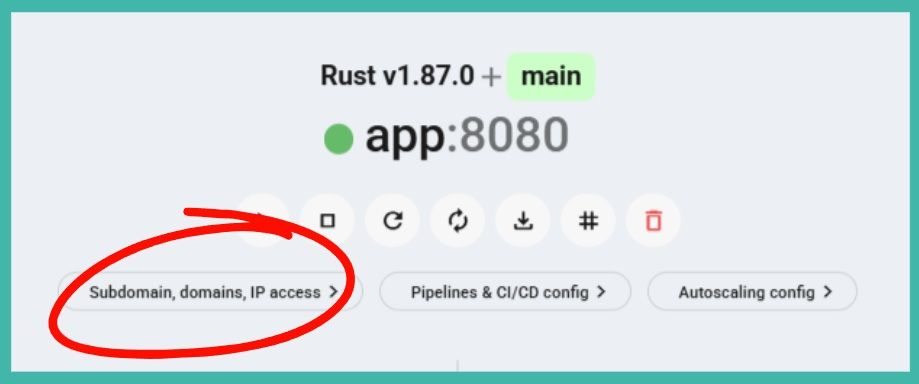
To send real traffic to your app, configure public HTTP access in Service Settings > Public Access & Internal Ports in the Zerops Dashboard.
Add your custom domain and point your DNS records to the Zerops IPs shown in the dashboard:
Type   Name          Content          TTL
A      example.com   <zerops-ipv4>    Auto
AAAA   example.com   <project-ipv6>   Auto
For wildcard domains, add a CNAME record for SSL validation.
Check the public access documentation: https://docs.zerops.io/features/access
Tip
When changing DNS records for production, start with a low TTL value. Make sure SSL certificates are active before you disable the fallback Zerops subdomain.
Once everything works, you can disable the Zerops subdomain so all traffic goes through your custom domain.
🎉 You are good to go!
Your application is live in production and the core setup is complete.
The following sections are optional. They cover extra production features such as log forwarding, backups, and diagnostic access. You can stop here and come back later when you need them.
6. Set up log forwarding (Optional)
To send logs to an external service, go to Project Settings > Log Forwarding & Logs Overview in the Zerops Dashboard.
You can forward logs to services like Better Stack, Papertrail, or your own self-hosted solution.
Learn more about log forwarding: https://docs.zerops.io/references/logging
7. Configure database backups (Optional)
Manage automated encrypted backups in Service Settings > Backups in the Zerops Dashboard.
By default, backups run daily between 00:00 and 01:00 UTC.
Before a major deployment, create a manual protected backup:
zcli backup create <db-service> --tags pre-deploy,protectedRead the backup documentation for more options: https://docs.zerops.io/features/backup
8. Set up diagnostic access (Optional)
Use zCLI and VPN access when you need to inspect or maintain services directly.
For runtime services:
zcli vpn up
ssh <service-name>.zerops
For databases, connect through the VPN to reach the project’s private network, or set up secure direct IP access for your database admin tools.
Check the VPN documentation: https://docs.zerops.io/references/cli/commands#vpn-up
Deploy more environments
Knowledge Base
Architecture
The app service (php-nginx) serves only public/; WordPress core is in public/wp, content in public/wp-content, and the real wp-config.php sits at the repo root — above the web root, so it can never be served. State is externalized: db (MariaDB) holds content, storage (object storage) holds media via humanmade/s3-uploads, and cache (Valkey) holds the persistent object cache via redis-cache. The object-cache.php drop-in is baked into the build artifact — copied from the version-matched redis-cache plugin during the build — so it ships inside every immutable container and connects to the managed Valkey on boot, with no runtime install step.
Compared to Bedrock
If you already run Bedrock, the front half looks familiar — Composer-managed core, an isolated web root, configuration from the environment; those are sensible WordPress practices and this recipe applies them too. Where it goes further is everything below that line, wired to the platform rather than left for you to assemble: managed MariaDB, Valkey and object storage; a build-baked Redis object cache; S3 media; health- and readiness-gated zero-downtime deploys; real cron; and tuned OPcache — provisioned and running as one project, across six environments from an AI-agent workstation up to an HA cluster.
Environment variables
- Wired for you (in the app's
zerops.yaml):WORDPRESS_DB_*←db,WORDPRESS_STORAGE_*←storage,WORDPRESS_REDIS_*←cache,WORDPRESS_URL← the subdomain. - Generated secrets (in
import.yaml): the eight auth keys/salts andWORDPRESS_ADMIN_PASSWORD. - Yours to set:
WORDPRESS_ADMIN_EMAIL, andSMTP_HOST_OVERRIDE/SMTP_PORT_OVERRIDEto route mail through a real SMTP relay. - Booleans are coerced —
WORDPRESS_DEBUGetc. are parsed withFILTER_VALIDATE_BOOLEAN, so the string"false"is actually false (in plain WordPress it would be truthy and silently turn debug ON).
Troubleshooting
- Redis "connection timed out" right after deploy — the drop-in degrades gracefully (
WP_REDIS_GRACEFUL); the container serves uncached until Valkey warms up, then reconnects. Persistent failure → check thecacheservice andWORDPRESS_REDIS_PASSWORD(Valkey auth is mandatory on Zerops). - Media 404s — media URLs point at the
storageendpoint, not the app domain; confirm the bucket policy ispublic-objects-readandmu-plugins/s3.phpsetuse_path_style_endpoint. - Uploads rejected at 50 MB — that's the L7 balancer cap on the
*.zerops.appsubdomain, not PHP; use a custom domain for larger files.
Related platform & services docs
Related Recipes
More recipes with similar technologies and categories.

Laravel showcase
A Laravel application connected to PostgreSQL, Valkey (Redis-compatible), S3-compatible object storage, and Meilisearch, running on Zerops with six ready-made environment configurations — from AI agent and remote development to stage and highly-available production.
Laravel minimal
A Laravel application connected to PostgreSQL, running on Zerops with six ready-made environment configurations — from AI agent and remote development to stage and highly-available production.

PHP Hello world
A minimal PHP application paired with PostgreSQL on Zerops, demonstrating database connectivity, idempotent migrations, and six ready-made environment configurations spanning the full development lifecycle.

Medusa Direct-to-Consumer (DTC)
Medusa v2.21 DTC backend and admin (zerops-recipe-apps/medusa-dtc) with optional Next.js storefront (medusa-dtc-frontend) on Zerops. PostgreSQL, Valkey, Meilisearch, MinIO, and Mailpit (dev envs). Omit nextstore services for backend-only.